Making a Solid Oak Tray: 4 simple steps to understand everything about making a solid wood tray.
You’ve all heard of solid wood, but do you really know how it is made? In this article I will explain everything to you.
As a manufacturer of art furniture, one day I began to share photos of the process of manufacturing solid oak trays that I made by my carpenter who is in the drill. I thought it would be a good idea to share his know-how and the different stages of their production. This will allow you to know more about the famous solid oak. I realized that a lot of people do not really know how to make the massive and what is its added value.
Some customers often ask me: “What justifies the high price of the massif? ” I can assure you that at the end of this article, when you have seen all the work that it requires you will understand. Finally I will explain the different stages of the manufacture of solid wood, and through these steps what are the important points that will allow you to know if it is solid wood or not and finally what are its advantages.
Step 1: the choice of wood.
Let’s start with the base.
Already you must know that it is not easy to find good wood, and it is even more difficult if the plateau is large, because you have to find good boards, large and do not twist in all directions. Everything starts with the wholesaler, my carpenter where he selects the good trays.
It should be known that the boards must come from the same region because they could have large differences in color. The carpenter will also look at the length, thickness, vein clearance, color and quality of the wood. In our case we need boards more than 2.20 m long, and more than 5cm thick. When the carpenter receives the wood he must let it dry, until it is at the right humidity level.
For those who do not know what is hygrometry: it is the moisture content of the wood. Wood that is not worked at the right moisture content (8 to 12% for an indoor wood) may start to move. It will swell or retract until it reaches its proper moisture level. So for larger sections, it is imperative to check this.
Here is a picture of the oak boards that my carpenter let to dry a week before embarking on the production of trays:
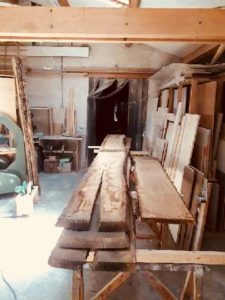
The different planks he has chosen are thick and long because the tables in the Ceramica range are 2.20 m long and 5 cm thick.
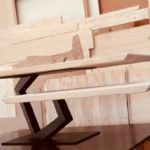
I chose to make very thick trays because the edges are shaped like airplane wings.
Wondering what it means?
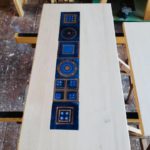
Here are some pictures of a test done before manufacturing to see the final rendering:
Now you understand the meaning of the phrase “in airplane wings”. As you have noticed, the ends of the tray are beveled. If I speak to you about this detail it is not by chance. It is precisely by looking at the edge of the wood that you will know if it is massive or not. It should be known that to build in massive, is not simple, because the wood in the long run, as I said it above, can move. There are therefore additional constraints.
To prevent the wood from spinning, furniture manufacturers use glue laminated wood. It looks like the massif, it’s cheaper and it does not move. But it is much less authentic. For when laminated wood is made, the wood is purged of all its defects and the slats of this wood are glued end to end in order to obtain the desired length. It does not move, it will often be used for large dimensions or special shapes.
However the wood being sorted one loses all the raw and authentic side of the veining. If the solid wood furniture is properly designed the wood will not work. Ok, let’s go back to what we were saying.
Do you want to know how to recognize laminated wood?
In the pictures where the wood is cut into “wings of plane”, we note that it is used a single wood, while for glued laminated you will notice in the section several strips of wood glued to each other.
Good at this point you still do not know how is made a massive plateau.
Step 2: Preparation of boards for gluing.
Eh yes ! a massive plateau is not in one part. However this can be the case if you find planks of a monumental tree.
Here is a picture of the planed boards:

Moreover on this subject the carpenter had to find planks of 65mm thick for a final plateau making 50mm. The carpenter must always select a higher thickness to be able to remove the defects of the wood and to plan (flatten) the trays.
As you can imagine the wood “works”, so the boards are not always flat. Then for the boards to hold well to each other the carpenter must fit the boards between her. You will notice in the photo below that he drilled holes in the board to position wooden trunnions. For those who do not know what it is, here is a picture:
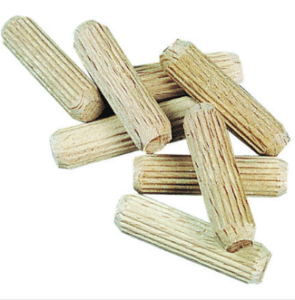
This will allow them to better engage. Here are some photos :
Planing boards and drilling holes for trunnions:
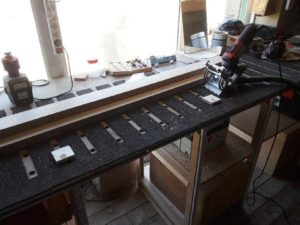
Step 3: The collage of the boards.
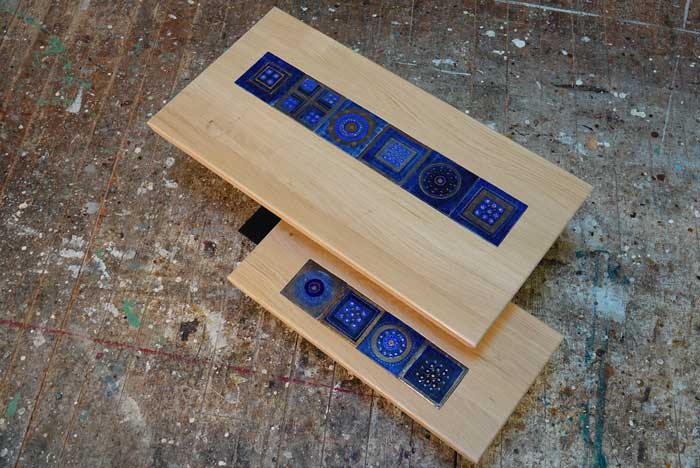
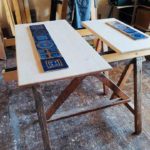
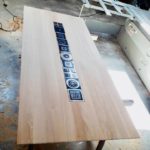
The dining table top of the Ceramica range.

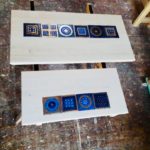
The trays of the coffee table of the Ceramica range:
Step 4: Sanding and finishing the trays.
As you can see there is glue overflowing. After 48 hours of drying, the carpenter sands the trays and lets it dry again for 48 hours.
But it is not finished.
Now you have to cut the ends of the trays, and for the Ceramica range, bevel the outline into “airplane wings”. A real know-how, because you must have the eye so that the angle is the same on each side. Even if the carpenter uses machines for roughing, everything is finalized by hand.
Besides, you’ll see, he explains it in the video that is at the end of this article.
Now you have to varnish the trays. 4 coats of varnish are needed. Between each layer it is necessary to sand the trays. Because the varnish raises the pores of the wood.
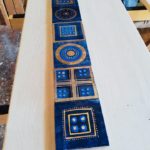
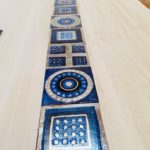
And for the Ceramica range the joiner will have to integrate in the tray the ceramic tiles that the famous ceramist Georges Pelletier made.
First of all you have to choose the order of the tiles and their positioning on the trays.
Then integrate the tiles to the wood, one after the other, because each tile is different.

